A CDN (or Content Delivery Network) is a geographically distributed network of servers that helps deliver site content and assets to servers that are closest to readers.
Enabling a CDN is a popular speed optimization option for site owners, that also tends to offer a nice layer of security and protection as well. However, powerful CDN caching can often impact the ability to see any recent changes made to Grow and it’s settings.
Clearing CDN caching can help with the following Grow issues/scenarios:
- After you make any changes to your site’s SEO plugin, such as adjusting the important og:image tag that Grow relies on to display thumbnails in your recommended content.
- After making any changes to your Grow settings, such as adding recommended content exclusions, adjusting widget placement, etc.
Not sure if you’re running a CDN?
Popular managed hosting providers often offer a CDN option that they’re able to enable on your site.
If you’re not quite sure if you’re running a CDN, it’s always a good idea to check in with your host to make sure the CDN setting isn’t enabled by default. You should be able to ask them clear any CDN caching from there as well!
Read on to learn how to clear caching on some of the more popular CDN services!
Clearing Cloudflare CDN Caching
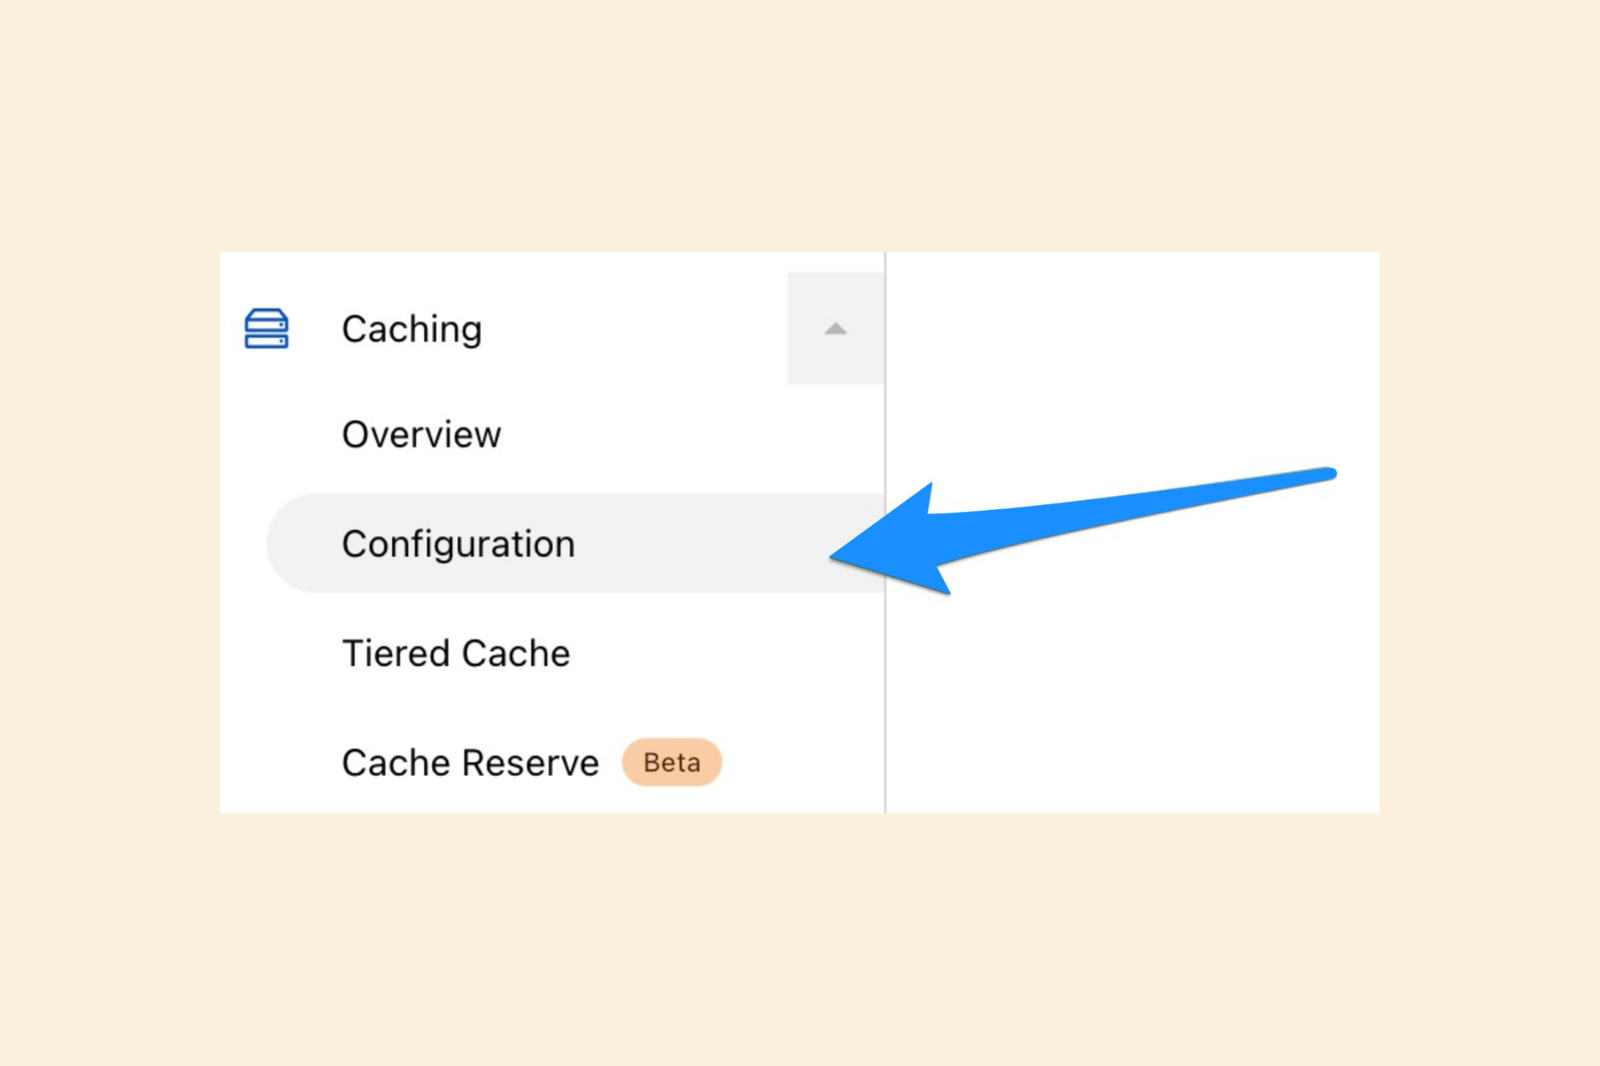
Step 1: Login to your Cloudflare dashboard and select the ‘Caching’ option in the left side menu, then ‘Configuration’.

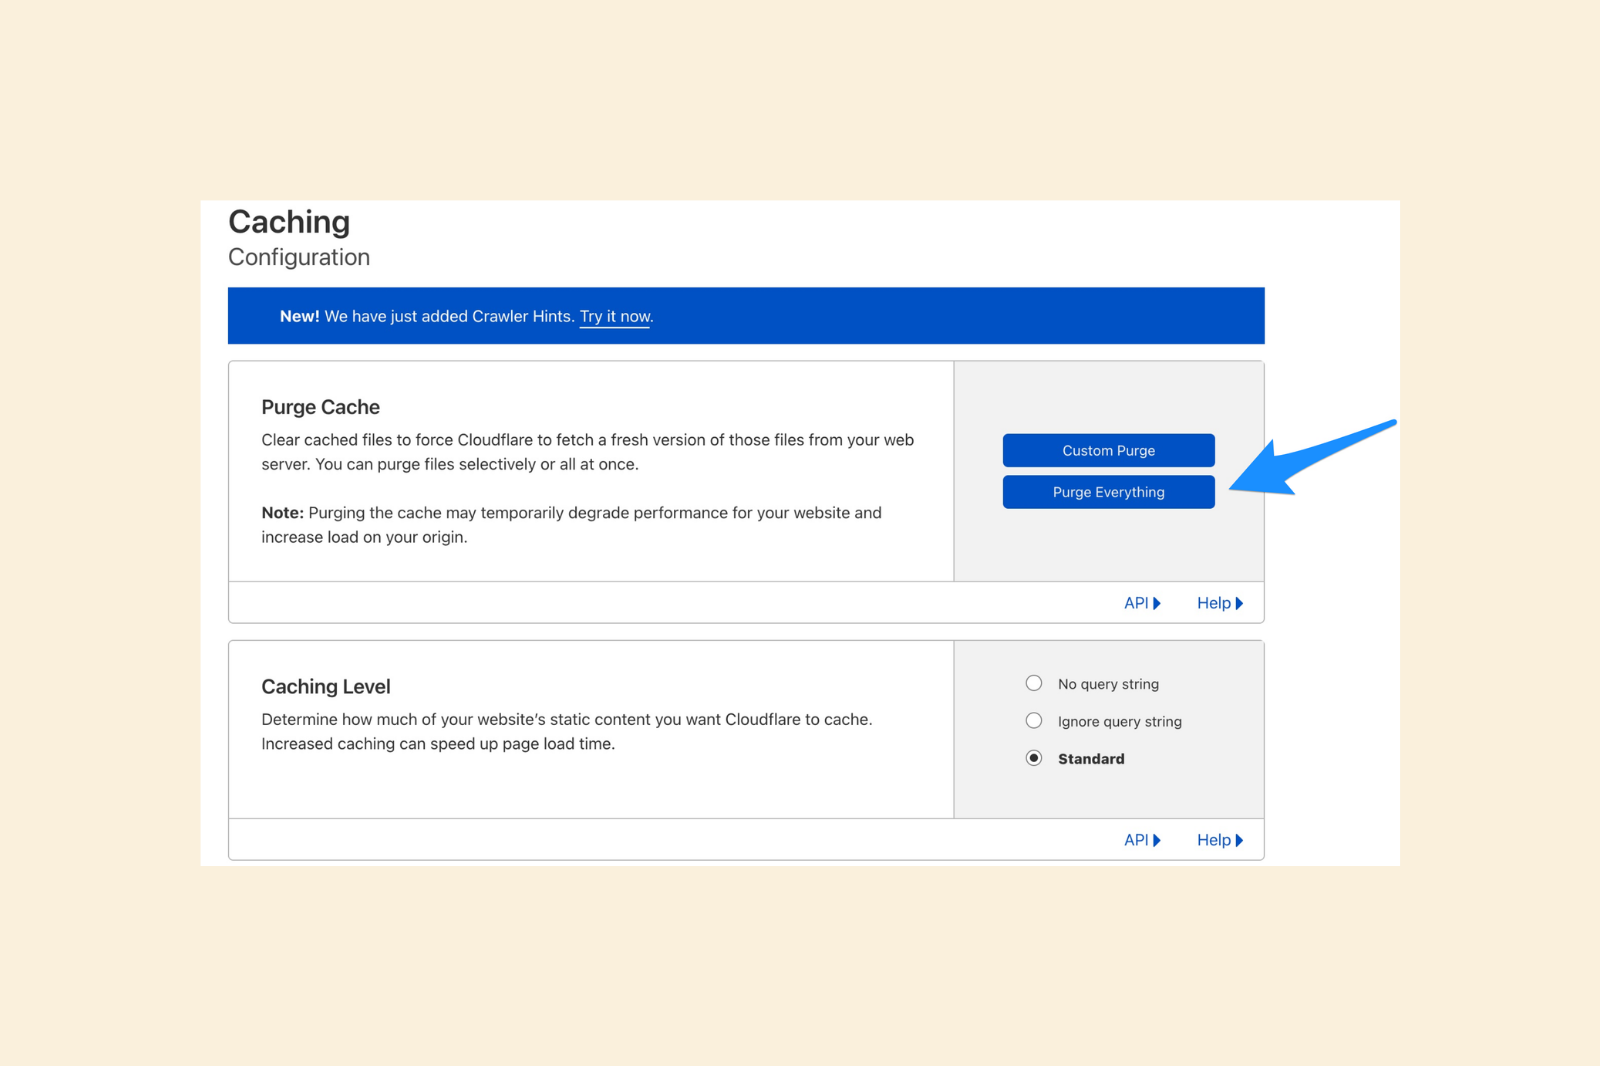
Step 2: Choose the option to ‘Purge Everything’ - this option might temporarily slow down your site, but will allow cache to be cleared so that readers are served the most recent version of your site.

If you’re using a Cloudflare integration, like the one within WP Rocket - you should also have the option to purge all cache from there as well.
Clearing Fastly CDN Caching
Step 1: Log in to the Fastly dashboard and from the Purge menu, select Purge all.
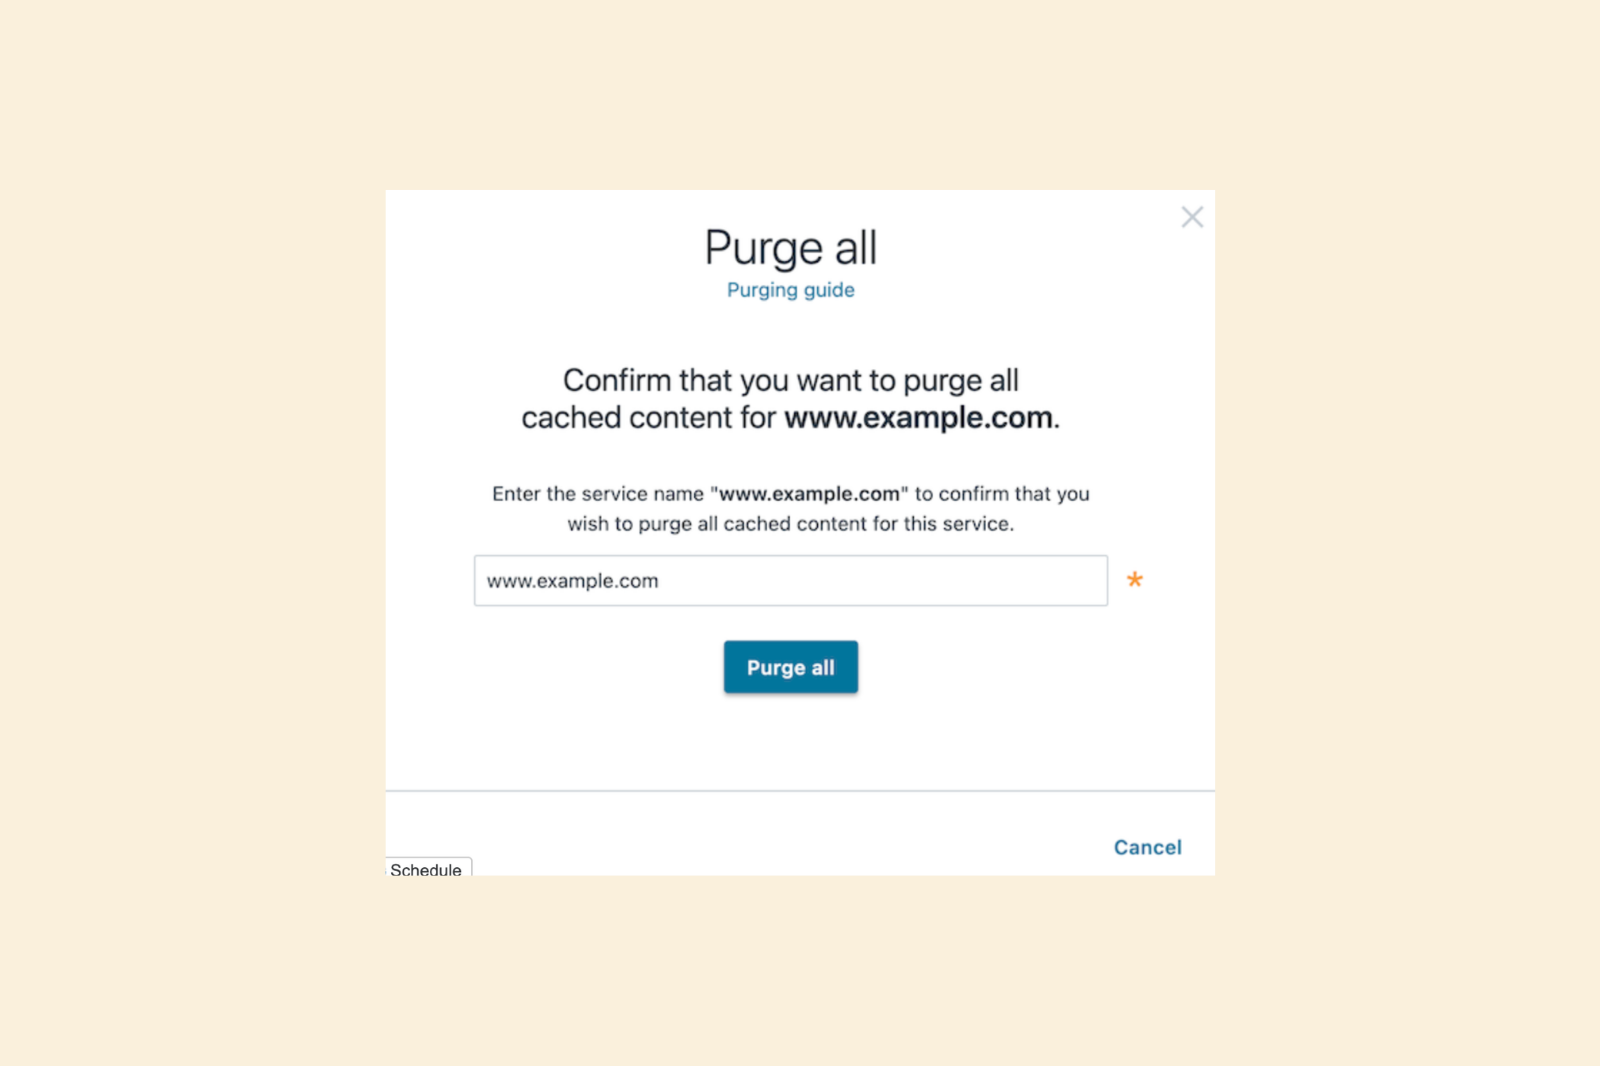
Step 2: You’ll see the following window pop-up, simply add the URL for your site into the indicated field:

Step 3: Select ‘Purge all’ and you should be all set!